Temples in Zelda: Tears of the Kingdom are specific locations where the player can enter and clear different enemies and challenges, usually with a Boss waiting at the end. Temples are usually difficult to find in and of themselves but are also directed towards during Main Quests, so you don't have to worry about missing any of them. Temples will usually have strong equipment lying in wait, depending on their placement in the questline, and clearing them will reward the player with valuable items that'll help them with their adventure, or knowledge of the game's deeper lore. This page lists all Temples available and where to find them in Zelda Tears of the Kingdom.
Zelda: Tears of the Kingdom Temples
Temples in Zelda: Tears of the Kingdom
Temples are special areas in Zelda: Tears of the Kingdom that allows players to explore to complete challenges and quests, defeat bosses, find items, and many more. Each of these dungeons gives a unique experience and often differs from each other based on the theme, architecture, and enemy types. There are a total of five Temples in the game that come alongside its Main Quests.
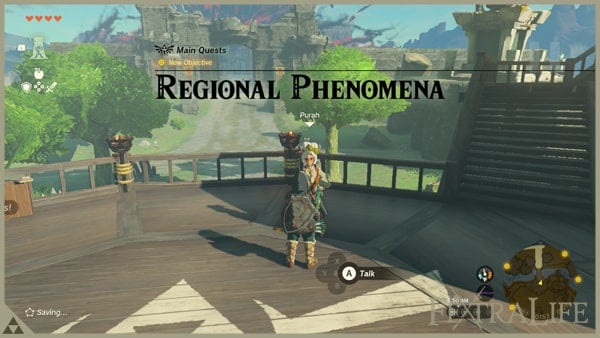
The story takes place in the same Kingdom of Hyrule, however, this land has changed in many ways. The vast world now extends into the sky, where you can see multiple islands floating, which are also called Sky Islands. Those areas can be explored adding more depth to the game. Similar to the other games in the Zelda series, the dungeons in this game house a unique reward that Link must collect, which will help him tremendously explore the treacherous corners of Hyrule and advance the story forward. Specifically, each temple houses one of five ancient artifacts that will boost each sage's power for the battle to come. Clearing the Temples here also shows the player the events that happened in the past that form the context of what Link has to do now, as well as give him items that'll allow him to call upon the power of each Temple's sage whenever he needs them. As you come across them in the Main Quests Regional Phenomena, and Guidance from Ages Past, each Temple also resolves a mystery or conflict that the region they're located in is facing.
Zelda Tears of the Kingdom Dungeons Overview
Temples in Zelda Tears of the Kingdom play a significant role in the game's progression and feature unique puzzles that players must solve in order to reach the boss and clear the Temple. The puzzles vary depending on the objectives of the related Main Quests and the element of the temple. The nature and solution of the puzzles within also differ accordingly. The game includes five dungeons, each representing one of the five elements attributed to the five sages who have protected Hyrule throughout its history: fire, water, wind, lightning, and spirit. The dungeons are thematically designed based on these elements, presenting challenges and environments related to each element. Clearing them rewards Link with valuable items and powers specific to each element's sage. Additionally, clearing a Temple, as with the other Dungeons, grants Link a Heart Container, increasing his vitality.
Click the following link to jump to the section:
- Zelda Tears of the Kingdom Wind Temple
- Zelda Tears of the Kingdom Fire Temple
- Zelda Tears of the Kingdom Water Temple
- Zelda Tears of the Kingdom Lightning Temple
- Zelda Tears of the Kingdom Spirit Temple
All Temples in Zelda Tears of the Kingdom
Zelda: TotK Wind Temple
- Unique Loot: Heart Container; Vow of Tulin, Sage of the Wind
- Boss: Colgera
- Main Quests: Regional Phenomena, Tulin of Rito Village
- Location: Hebra Region
- Map: Zelda TotK Map Link
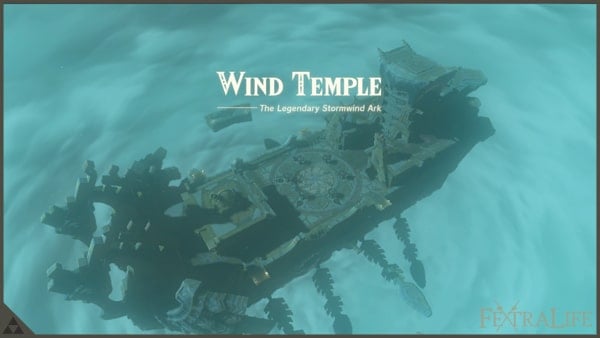
The Wind Temple in Zelda Tears of the Kingdom is accessed as part of the Main Quest Tulin of Rito Village. To reach the temple, players need to refine their gliding and climbing skills, as it is located high above the Hebra region. The temple is shrouded in a stormy cloud causing dangerous weather conditions. Tulin, the son of the village chief, spots Princess Zelda being attacked by a monster and flying into the cloud, prompting the player to follow. Upon landing in the temple, players witness a cutscene revealing that the extreme weather is generated by a mechanism locked under a hatch. The voice the player and Tulin have been hearing instructs them to release five locks to open the hatch. Throughout the temple, players encounter enemies like Ice Chuchus, Aerocudas, Keese, and various constructs. Filled with puzzles and challenges, players must use Tulin's gust ability to activate turbines and unlock the locks, as well as navigate platforms, glide through lasers, melt ice formations, attach icicles to gears, and utilize Ultrahand and Recall abilities to progress.
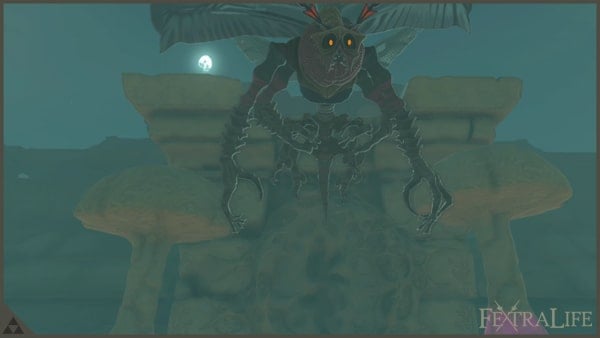
After releasing all five locks, the hatch fully opens, launching the player and Tulin into an aerial battle against Colgera, a giant bug-like boss. The boss fight involves targeting and destroying three body segments, each protected by ice crystals. Players can break the crystals with arrows and strike the weak points. Colgera also attacks by firing spikes and creating tornadoes. After eventually defeating it, the player is rewarded with a Heart Container. Following the battle, a tear-shaped object floats down, and a cutscene reveals more information about the Imprisoning War. Tulin blesses the player with his ring, the Vow of Tulin, Sage of Wind, granting them the ability to call upon his swift wind power.
For an in-depth guide on how to clear the Wind Temple, click here
Zelda: TotK Fire Temple
- Unique Loot: Heart Container; Vow of Yunobo, Sage of Fire
- Boss: Marbled Gohma
- Main Quests: Regional Phenomena, Yunobo of Goron City
- Location: Eldin Region
- Map: Zelda TotK Map Link
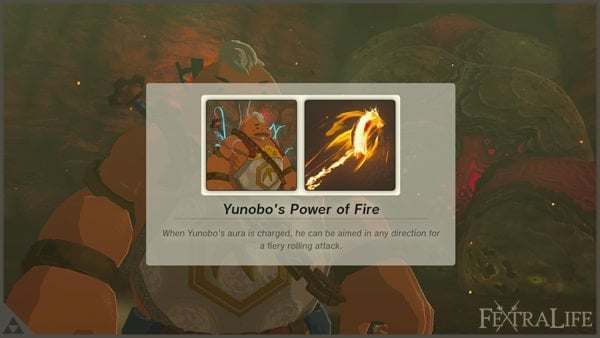
The Fire Temple in Zelda Tears of the Kingdom is accessed as part of the Main Quest Yunobo of Goron City. The temple is located deep within Death Mountain and can be reached by following the objectives of the Main Quest involving Yunobo, the president of YunoboCo, who has been conversing with Princess Zelda and wearing a mysterious mask. After destroying the mask that seems to be altering his personality, you follow him as he goes after Princess Zelda into Death Mountain. The temple entrance is initially blocked by a red rock, which Yunobo can break using his ability. Upon entering the temple, players witness a cutscene where Princess Zelda is seen behind a gate levitated by red rocks. A voice instructs the player and Yunobo to unlock five padlocks to open the gate. You'll encounter various enemies such as constructs, Igneo Pebblits, and Fire Likes as you navigate through different rooms, solve puzzles, and use Yunobo's abilities, including breaking red rocks and hitting gongs, to unlock the padlocks.
After unlocking all five padlocks, the gate opens, leading to a dome-shaped room, revealing the Marbled Gohma, a large monster that Yunobo believes to have Princess Zelda inside. The boss battle begins, with players needing to avoid the Marbled Gohma's attacks, such as spitting exploding red rocks and stomping with its legs. This fight involves constantly destroying its legs by using Yunobo's ability, allowing players to attack its vulnerable eye and deal significant damage. After eventually defeating it, the player is rewarded with a Heart Container. Following the battle, a tear-shaped object floats down, and a cutscene reveals more information about the Imprisoning War. Yunobo will bless the player with his ring, the Vow of Yunobo, Sage of Fire, granting them the ability to call upon his destructive firepower.
For an in-depth guide on how to clear the Fire Temple, click here
Zelda: TotK Water Temple
- Unique Loot: Heart Container; Vow of Sidon, Sage of Water
- Boss: Mucktorock
- Main Quests: Regional Phenomena, Sidon of the Zora
- Location: Lanayru Region
- Map: Zelda TotK Map Link
The Water Temple in Zelda Tears of the Kingdom is a Temple encountered during the Main Quest Sidon of the Zora. As part of this quest, Link teams up with Sidon, the prince of the Zora, to investigate and resolve the issue of black sludge contaminating Hyrule's waters. Situated in the Lanayru region, the temple holds the secrets of the water's source and the events surrounding Princess Zelda's attack on King Dorephan. To access the Water Temple, players must first reach Wellspring Island, a floating island above the Lanayru region by scaling waterfalls from Zora's Domain, with guidance provided during the Main Quest. There, Link and Sidon discover a mechanism involving five large jars with faucets, one of which is already activated, channeling clean water into the middle jar. To clean the source of water they must turn on the rest of the faucet, as they must overcome various challenges, including puzzles and enemies like Chuchus and constructs.
Once all four faucets are activated, the true culprit behind the Zora people's troubles, the Mucktorock will reveal itself, requiring players to utilize water-empowered weapons and Sidon's abilities to remove the Mucktorock's sludge armor and deal damage to it. After eventually defeating it, the player is rewarded with a Heart Container. Following the battle, a tear-shaped object floats down, and a cutscene reveals more information about the Imprisoning War. Sidon will bless the player with his ring, the Vow of Sidon, Sage of Water, granting them the ability to call upon his versatile waterpower.
For an in-depth guide on how to clear the Water Temple, click here
Zelda: TotK Lightning Temple
- Unique Loot: Heart Container; Vow of Riju, Sage of Lightning
- Boss: Queen Gibdo
- Main Quests: Regional Phenomena, Riju of Gerudo Town
- Location: Gerudo Region
- Map: Zelda TotK Map Link
The Lightning Temple in Zelda Tears of the Kingdom is a temple encountered during the Main Quest Riju of Gerudo Town. Accompanied by Riju, the chief of the Gerudo, Link must solve the mysteries surrounding the sand shroud and the menace of the Gibdo, constantly laying waste to Gerudo Town. Following the instructions of an ancient mural, you'll have to solve a light puzzle to unearth the entrance to the temple. Inside, they must charge batteries in order to use an elevator to head to the top of the temple, as they encounter various enemies such as Gibdos and Electric Keese. Finding and charging the batteries entail puzzles with rotating wheels, traps, flaming boulders, and narrow corridors, and utilizing tools like Recall, Ultrahand, Riju's lightning, and other various abilities.
With all the batteries charged, they proceed to the top for a rematch with Queen Gibdo. This fight will involve using Riju's lightning to make the boss vulnerable and using your movements to dodge her attacks. After eventually defeating her, the player is rewarded with a Heart Container. Following the battle, a tear-shaped object floats down, and a cutscene reveals more information about the Imprisoning War. Riju will bless the player with her ring, the Vow of Riju, Sage of Lightning, granting them the ability to call upon her ineffable lightning power.
For an in-depth guide on how to clear the Lightning Temple, click here
Zelda: TotK Spirit Temple
[IMG PLACEHOLDER]
- Unique Loot: Heart Container; Vow of Mineru, Sage of Spirit
- Boss: Seized Construct
- Main Quests: Guidance from Ages Past
- Location: Faron Region
- Map: Zelda TotK Map Link
The Spirit Temple in Zelda Tears of the Kingdom is a temple accessed during the Main Quest Guidance from Ages Past. Located in the Faron region, Link follows a lead to find a missing sage and their secret stone, which would be crucial in the battle against the Demon King. This search takes Link back to Kakariko Village, and eventually to discover Dragonhead Island as a potential location. Needing at least ten hearts to move forward, Link will eventually follow a voice's guidance to the Construct Factory in the Faron Depths, where he inserts the mask into a mold. The voice introduces herself as Mineru, the Sage of Spirit, who needs Link's help to assemble a physical body for her spirit. After doing so, Mineru will now accompany you to get her secret stone from the Spirit Temple. The construct can wield weapons, utilize Zonai Devices for enhanced movement, and equip ranged weapons and other tools like Cannons and Spiked Iron Balls.
On the way there you'll encounter various corrupted enemies, including Lizalfos, Moblins, Bokoblins, Hinoxes, and Boss Bokoblins, on whom you can practice maneuvering Mineru's construct. Eventually, you'll reach the Spirit Temple, only to be ambushed by its current guardian, sent by the Demon King himself, the Seized Construct. This boss fight involves using a combination of melee attacks, dodging, and stunning the boss with Cannons or Shock Emitters in order to push the boss into barbed to deal significant damage. After eventually defeating it, the player is rewarded with a Heart Container. Following the battle, the tear-shaped secret stone becomes accessible, and a cutscene ensues showing Mineru's true form. Mineru will bless the player with her ring, the Vow of Mineru, Sage of Spirit, granting them the ability to call upon her near-indestructible construct.
For an in-depth guide on how to clear the Spirit Temple, click here
Zelda TOTK Temples Notes and Trivia
Notes and other tips for Temples go here:
Zelda TOTK Temples Gallery
[images for TOTK Temples]
